

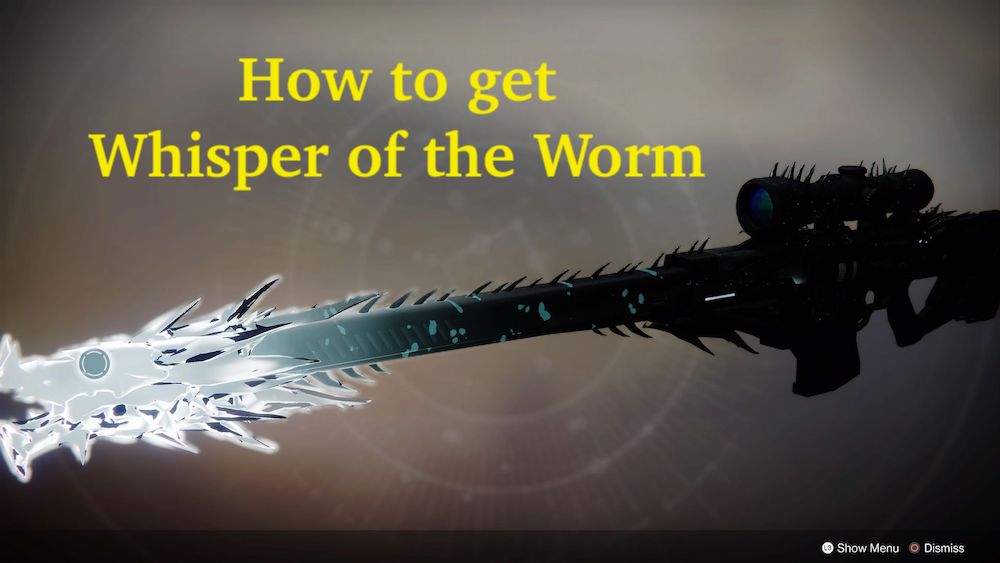
Whisper of the Worm has seen its fair shares of ups and downs, from being one of the most coveted snipers in Destiny 2 to being a shell of its former glory. Bungie has had a difficult time making the sniper feel exotic while also maintaining a balance within the game. More tweaks are sure to come to the weapon, but something unchanged is the dungeon that needs to be completed before getting the gun.
Whisper of the Worm refills your magazine after landing three consecutive precision shots. Before nerfs Whisper would create and fill your magazine, however now the three shots are pulled from your reserves. This is to make sure there isn’t a weapon with infinite ammo. Nevertheless, this isn’t a review of the gun, but a guide. So let’s get to it.
Step 1:
Go to IO
I would like to say the hardest step is this this step, but I would be lying. Either way, this step has the potential to take the longest. When you travel to IO, spawn into Lost Oasis. Here you will have to wait until a Taken public event spawns.
Once it does, ignore it. Instead, look for a yellowed-barred Taken Knight and defeat it. They can spawn in any of the places marked below.
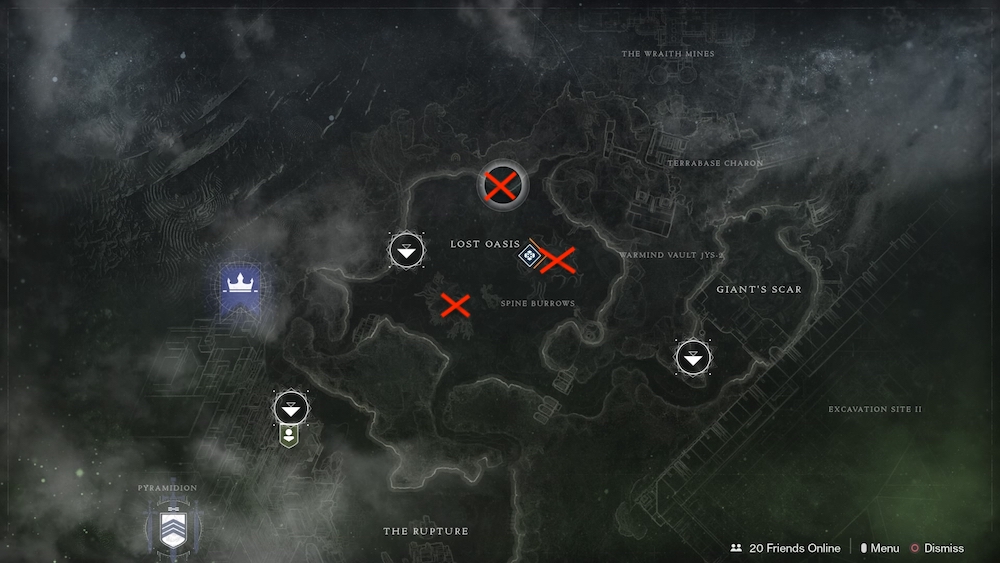
Once you see the yellow bar, you will know it’s the correct one.

Once defeated, a Taken portal will spawn on top of a cliff, and here is where the true test starts. So make sure you are ready. Any weapon you feel most competent with will do well, but also make sure your Guardian is optimized for platforming. The first part of this quest is a large jumping puzzle.

Step 2
Complete the quest in the allotted time
You have 20 minutes. This may seem like a lot, but it’s not. Similar to the Outbreak Perfected mission, the more times you attempt it, the quicker you will be able to get through the non-competitive portions. You will need to make your way through the dungeon with minimal mistakes. If you can make it to the combat portion with more than twelve minutes to spare, you’re in good shape.
Once you’re through the jumping portion, now it’s time to kill some alien ghosts. There will be three rooms that require you to kill all of the adds before you can proceed to the next room. Take them out quickly. The more time you have in the final room, the better.
The final room is a bit of a cluster. You will need to take out three Taken bosses. They will only spawn in once all of the Taken yellow-barred enemies are defeated. So make sure to take out all of the blights before you start the encounter. The bosses will not only hide behind these blights, but they will also keep spawning in more and more adds, more than what would normally be there.
Ones these three bosses are killed, you will have completed the dungeon and received Whisper.
Whisper of the Worm may still be difficult to get, and it may not be as pwerful as it was before the nerfs, but it’s still a great sniper rifle.
Our goal here at PSU is to have a guide to every Exotic weapon before Destiny 2: Shadowkeep launches October 1. So, below is a list of all of our Exotics we have already guided out. As always, for all the information you need for Destiny, be sure to keep your eyes to PSU, Guardian.
- The Last Word
- Thorn
- Outbreak Perfected
- Truth
- Lumina
- Malfeasance
- Bad Juju
- Jötunn
- Ace of Spades
- One Thousand Voices
- Sleeper Simulate

No comments
Post a Comment