

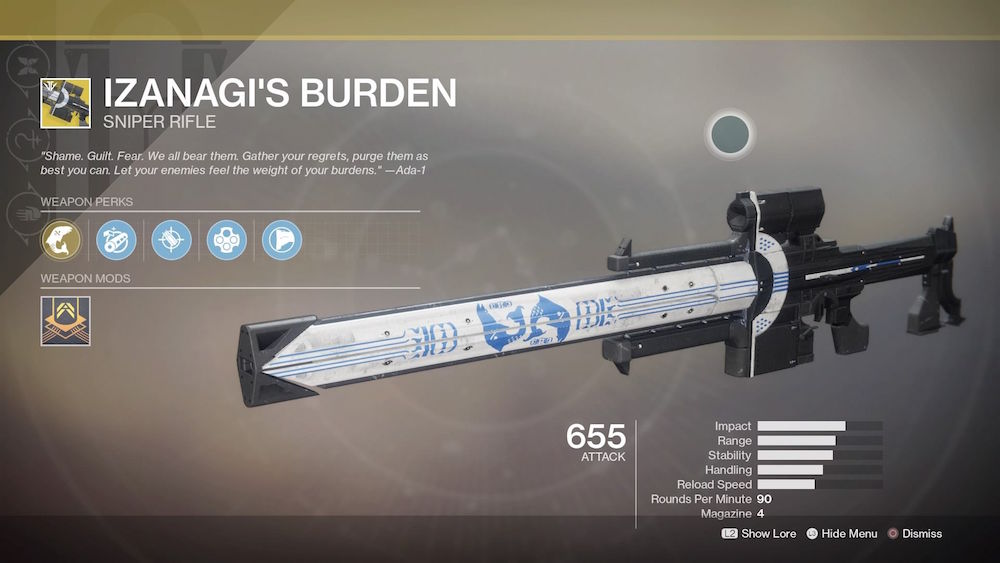
Izanagi’s Burden lives up to its name. With the exception of timed missions like Outbreak Perfected and the Whisper of the Worm, this has been the hardest quest inside of Destiny 2. However, unlock Whisper Izanagi’s Burden is a very viable sniper rifle. Nevertheless, the quest is a lengthy one, so let’s get into it.
Step 1
Unlock all Black Armory Forges
All players have Volundr Forge and Bergusia Forge unlocked from the start of Black Armory. However, there are two forges, Gofannon and Izanami, that you need to unlock. These in themselves are lengthy but straightforward quests. Although, once all four forges are unlocked, you will be able to start to build the quest. I’ll explain in step 2.
Step 2
Collect all the Mysterious Box Keys
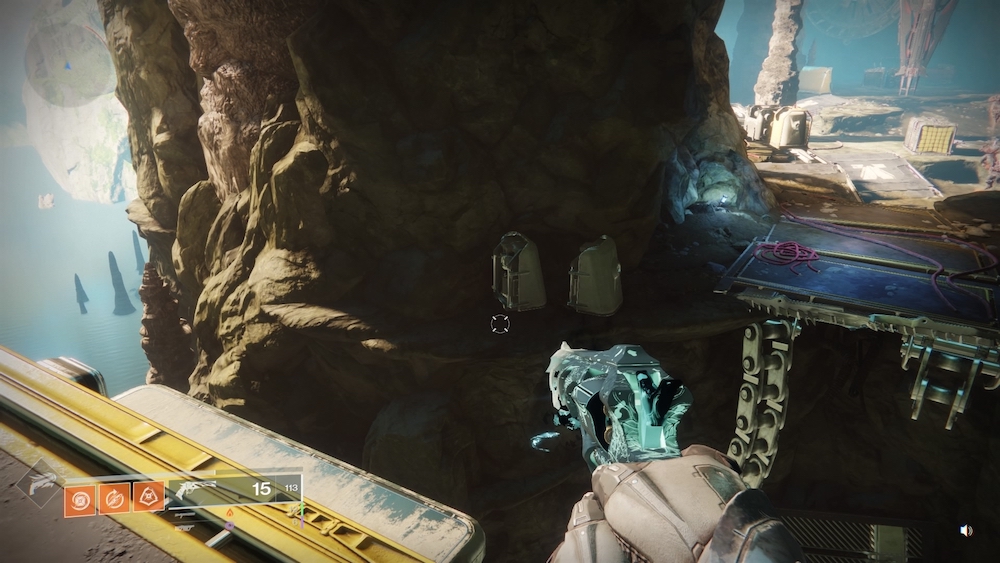
There is a Mysterious Box that you must unlock before starting the grind for Izanagi’s Burden. At the beginning of the Gofannon Forge, before you jump into the main room, there will be a cave underneath the main platform. Jump to it.

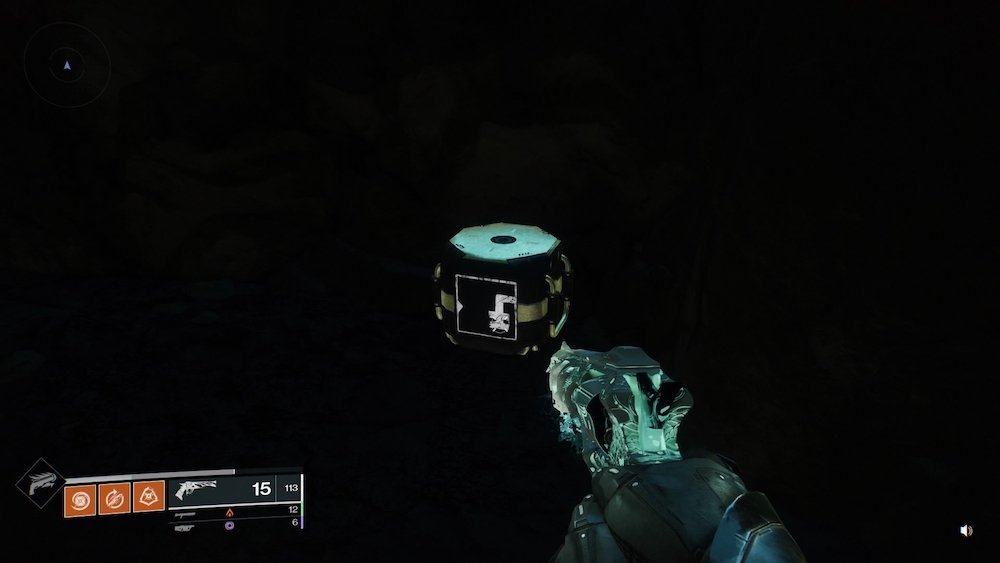
Once you get the box itself, you will need to play through Bergusia, Gofannon, and Izanami forges once each. During the second round of each forge, there will be two tiny drones that glow blue. Destroy these drones before the boss spawns in. Luckily, the second round normally takes the longest, so you will have plenty of time to find them.
These drones are normally flying around a set pattern and are harmless. You can find them flying around a beam or pillar of some kind. Once these drones are destroyed, then you will receive an extra chest upon completing the Forge. This chest will hold one of four keys. Once you have all four of these keys, you will finally get the quest for Izanagi’s Burden.
Step 3
The Leviathan
Go to the Leviathan to destroy 25 Watcher turrets for their lenses.
Step 4
Glimmering Amethyst
Completing any activity will grant Glimmering Amethyst. Filling the gauge to 100% will take you to the next step.
Step 5
The Drones are Back
You will need to destroy one more set of drones, this time in the Bergusia Forge.
Step 6
Back to the Tower
Visit Ada-1 back at the Tower. You will need to solve the “Mysterious Data Pad” bounty.
Step 7
We Wait
This step takes the longest, but only because of how rare the Rare Bounties are to acquire. Completing Powerful frames have a chance of granting this bounty to drop. There are multiple different ones that you can get, but they all will expire within a week of obtaining them. So you will need to make sure you devote your time to the bounty once you accept it.
Step 8
The Shattered Throne
If you are familiar with the Wish-Ender quest, then you are fully aware of The Shattered Throne. You will have to wait for high corruption week (at least until Shadowkeep launches and allows Scattered Throne always) to finish this step. Hopefully, you get a rare bounty before this happens to save on time.
Step 9
An Unforgiving Strike
Now you will need to complete a new mission on Io. This mission is the strike The Pyramidion” but with an extra twist. Blackout is a modifier that, if played solo, you die and return to orbit. The really difficult part is that only Guardians who have completed, or are in the same step, can join you in the strike. So I hope you have a few friends that can help out.
Step 10
One More Forge
You will be directed back to the Bergusia Forge, this time as a mission without matchmaking. Luckily, any Guadian can be invited to join you. Honestly, without the Blackout modifier, it feels like a breeze compared to the previous step.
Step 11
Ada-1 is Requesting You
Visit Ada-1 one last time for your reward.

As you can tell, this guide is much larger than our normal Exotic quest guides. This is what makes this gun so difficult to obtain, but it is worth it. Below is a list of some more of our guides as well as guides to weapons we mentioned in this article.
For all things Destiny, keep your eyes up to PSU, Guardians.
How to get:
Original Article © psu.com


No comments
Post a Comment